
How to Create a Brand Style Guide in 9 Days (Plus a FREE Workbook)
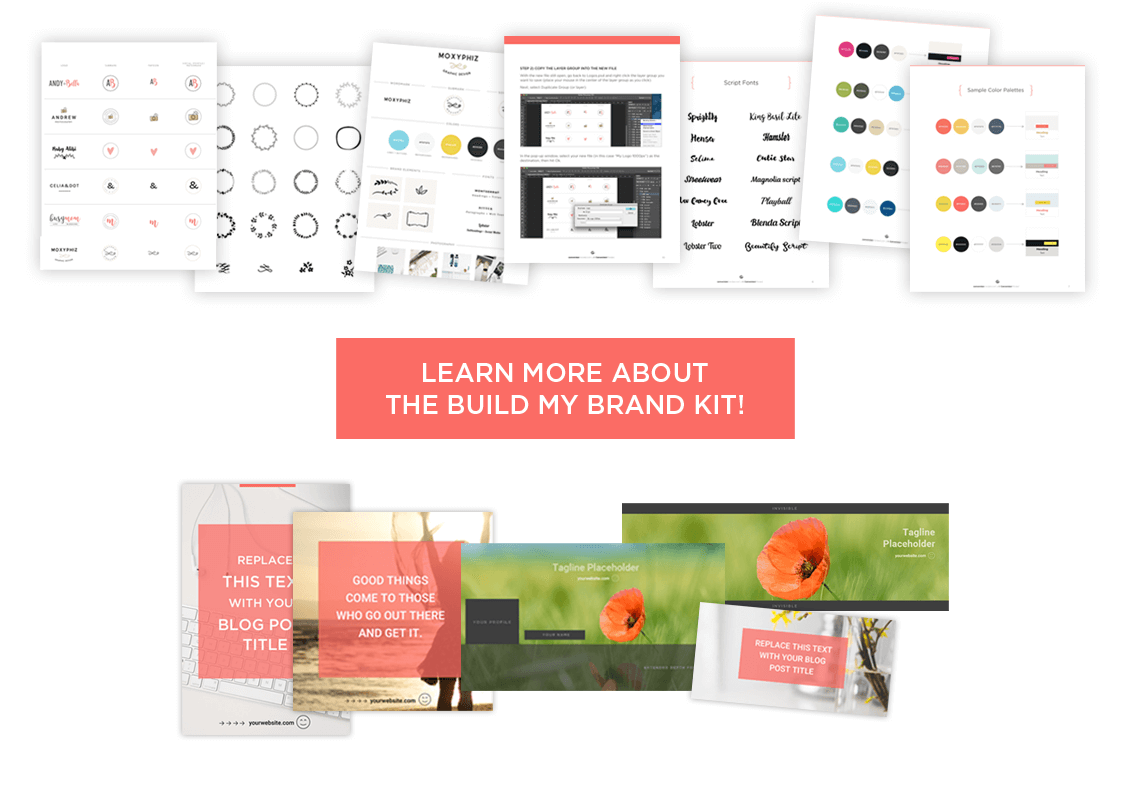
 Hey there! A brand style guide is just one of the many elements I cover in the Build My Brand Tool Kit, which is a ridiculously in-depth, step-by-step system FULL of everything you need to build an epic brand that attracts your dream customers. It may be just what you’re looking for! Learn more about the kit.
I get it. And I’m sure you get it too. How important it is to really know your brand on a deep level. Things like:
- Your mission and what you stand for
- Who you are speaking to
- How you want your audience to feel when they experience your brand
So. What’s next? What do we do with everything we know? I think maybe first, we should step back and take a minute to realize how incredibly amazing it is that we have the power to define how people experience our brands. And that the only thing that stands in between us knowing our brand and our peeps knowing our brand is…
…the way we communicate it to them.
That’s where having a brand style guide can help. A brand style guide is like a brand guidelines template that will help you document your important elements so that your brand is consistent and harmonious everywhere. It covers how you plan to treat things such as fonts, colors, images, icons, tone, messaging, and more. As I mention in this post, a style guide will save you time because you won’t have to stop and think about how to design your Instagram image or how to format your next blog post. And it will make it easy for people to recognize your brand online.
Before we dig in to how to create a brand style guide, I have to say one more thing because this is so very important and I don’t want to forget.
Let go of being perfect
Creating a style guide template is usually one of the last things I do when I launch a blog or a business. Why, you ask? Because I know me. I can get pulled into a design rabbit hole really, really quickly. I’m the world’s biggest perfectionist and I can get hung up on every last detail, the kinds of things others don’t even see. I’m a Virgo and that’s what we do, right?
The practical, business side of me doesn’t like falling into rabbit holes. That’s why I wait to create a style guide template for my blog until I have more information. There’s a lot that can happen in a year, especially if it’s your first:
- Your audience can change
- Your vision can change
- Your products can change
- Your tone can change
- And more
So here’s the big question:
Do you need a brand style guide now or can it wait?
The short answer is Yes, you need one now. As I mentioned, it will save you time. But…
…how much time you spend creating it should be directly related to how long you’ve been in business.
If you’re just starting out, don’t spend a ton of time on a style guide. It’s too early in the game for a deep dive. Give yourself a certain amount of time each day or each week, depending on your schedule. Building a blog brand is important, but please don’t get hung up on things like finding the perfect font or the perfect colors. It is so much more important to get out there and start to interact with and build your audience! You’re going to learn so much about yourself and your peeps, and then you can bring that information back to the table and tweak and refine and edit your brand style guide until your heart’s content.
If you’re in a momentum or growth stage, congrats! You’re starting to establish your brand and really know who your readers are on a personal level. You’ve developed things like your tone and your blogging style, maybe you’ve pivoted your brand position once or twice and tweaked your offerings to get them where they need to be. You’re probably due for a complete style overhaul. In this case, you can and should spend more time on your style guide template.
For this post, I’m going to assume that you’re in the early stages of your blog. I really want you to get that things don’t have to be perfect to build a strong brand foundation, so I’m structuring this post as a quasi-challenge. If you’d like me to turn this into more of a formal challenge, where we break it all down and get things done each day, just let me know in the comments, please.
Day 1: Create a Mood Board
This step is easy and fun! Gather inspiration. Don’t edit your ideas. Just find things you like. Create a private Pinterest board where you gather everything that inspires you on to a “mood board”. Pin anything that grabs you, especially:
- Colors
- Fonts and font pairings
- Images and photos
- Icons and graphics
- Textures
- Interiors, workspaces
- Fashion styles
- Anything else that grabs you
So week one is about igniting your creativity…
Day 2: Edit Your Mood Board
Look at your mood board. Do you see any common themes emerge? Is there a specific color you’re drawn to more than others? How about textures and fonts? Maybe it’s a certain contrast of colors that really grabs you. Or maybe the images make you feel a certain way. Try to get specific about why each element captures your attention. This will help you to recreate that mood/tone in your brand.
And! There’s no right or wrong answer when you’re doing this other than to identify the images, titles, colors, elements, and so on that make you feel the way you want your readers to feel. One of the biggest things that will help you create a brand for your blog is to edit. Narrow down and delete any elements/colors/styles that don’t connect with you or your brand. Continue refining your mood board and delete anything you have on there that doesn’t feel like you.
Day 3: Choose Your Colors
Pick 2-4 colors from your mood board that you will use for everything on your blog – headings, subheadings, text, images, icons, accent colors, background colors… all of it. Commit to using these colors and no other ones! The point of creating a style guide is to stick with it. Your brand will look inconsistent and fragmented if you choose a different color for your website than on Pinterest and Instagram.
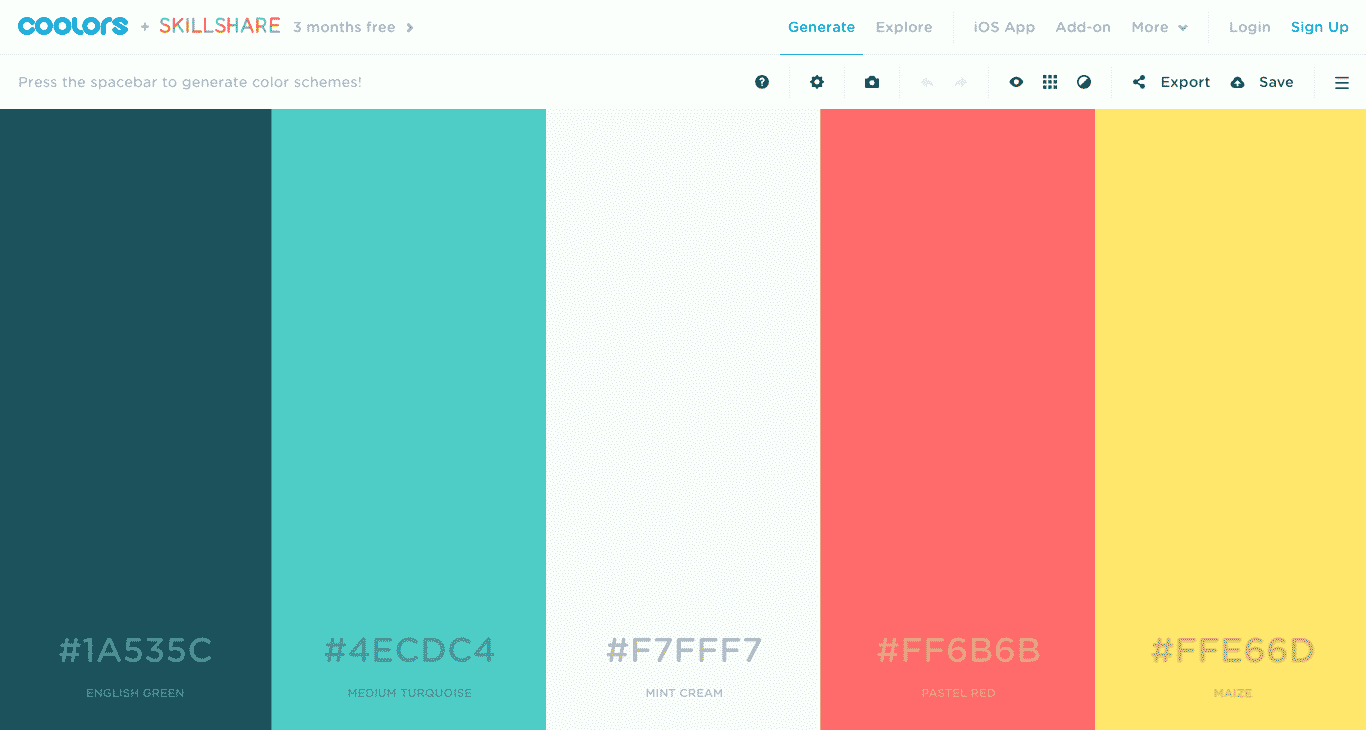
To find out the Hex code (e.g. #000000) for a specific color in one of your pins, save it to your desktop and then upload it imagecolorpicker.com. Once you have it, document the Hex code in your style guide so that you can make sure you’re using the exact same colors everywhere. If you need additional ideas or want to find colors that compliment others, use a site like coolors.co to generate color schemes. They even have the Hex code listed right there to make it easy.
For general guidance with colors, use black or dark gray (#333333) for text, a bright color for headings and subheadings, and then one or two accent colors for social media, Ebooks, and other uses.
Related: How to Choose Colors That Will Make Your Brand Stand Out
Day 4: Choose Your Fonts
brand identity guidelines
Do the same thing you did in week #3, only for fonts. Decide which fonts from your mood board best reflect your brand’s personality and tone. You want to choose 2-3 fonts that compliment each other. Here’s a quick guideline for choosing fonts:
- Text: The font you choose for the text on your website should be very easy to read at a font size of 16-20px. Make sure it also feels true to your brand. Sans-serif fonts are best for legibility.
- Headings: If you choose a font like Open Sans for text, you just need to change the font size and weight and then you can use it for headings as well. Or you choose a different font, perhaps one where you can showcase your personality a bit more. Note: blog titles are considered headings and can sometimes run long. You want to make sure your heading font reflects your brand without distracting people or making it hard for people to digest your title.
- Featured or emphasized text: Here’s where you can have some fun and throw in some contrast! This is really to give readers some eye-candy and break up the page a bit. Think about choosing a jazzy hand-written type or whimsical script font for featured text. Of course, only do this if it’s appropriate for your brand!
- Play with font pairings: It’s amazing how you can change your brand’s tone simply by pairing different fonts. If you combine a serif font like Playfair Display with Open Sans, you’ll get an entirely different mood than when you pair it with a narrow, bold type like Oswald.
- Social media: Just a note that you will be using these same fonts for your blog title images and on social media. Make sure they all work together and will be easy to read when you overlay them on images and background colors.
- Downloading fonts: Google Fonts and dafont.com are both good sources to download free fonts. Just be sure to check the license on dafonts.com to make sure it’s not limited to personal use.
- Font weights: I recommend choosing font families with more than regular and bold font weights. This will give you some flexibility to be a little creative with some parts of your text so that they stand out from the rest. A font like Open Sans will have light, regular, semi bold, bold, and extra bold font weights. You’d be surprised at how much you can bring your page to life with all of these weights to choose from!
Once you’ve decided on a few fonts, write them down in your style guide and then stick with only these! Remember that every time you create a blog title image, you want to use these same fonts so that people begin to recognize your brand.
Whatever you do, resist the urge to experiment with each new image! Part of the reason we’re creating these brand identity guidelines is to save you time. All the high-level creative choices are being made and documented in your brand style guide now so that you don’t waste oodles of time deciding which fonts, colors, and images you want to use later on. Make sense?
Related: Free Fonts and Font Pairings for Web, Social Media, and Blog Images
Day 5: Choose your social media platforms
Based on what you know about your readers, where do they hang out? Which social platforms are they on? Choose 2-3 (max!) platforms that you will dig into and really build your following. While you’re at it, write down two other brands in your niche that you like based on their social activity. What strategies have they used to build their following? What types of posts and images are they sharing? Which ones have the most repins, retweets, and shares? You don’t want to copy your competitors…instead, use their strategies as inspiration and a jumping off point for your own images and themes.
Document everything from here in your blog style guide.
Related: Why You Need a Social Media Strategy and How to Create One That Works
Days 6-8: Choose Your Image Style
You know where I’m going. Based on your mood board, decide on the style of images you will use for your blog posts and social media.
First, decide if you prefer to DIY your photos or use stock ones. If the latter, spend time on these free stock photo sites to see which ones best suit your brand. I find that even though there are many great sites out there, I tend to use the same ones over and over simply because they reflect my aesthetic more.
Based on your mood board, colors, and fonts, decide if your image style will be earthy, bold and vibrant, muted and serene, whimsical, with lots of contrast, or maybe none at all.
Once you decide, document it in your blog style guide (you get the gist!).
Next, hop back on to your preferred sites and download your first ten images to Dropbox (or your desktop) inside an “Image Library” folder. Or if you prefer to DIY them, take your first ten photos and save them.
You’re doing great! We’re just about there…
Now you need to decide your image styles for these uses:
- Featured blog post images: What sizes and styles will you use? Will you overlay text onto images or a color background? If you need some direction with share sizes, this post will help.
- Secondary post images: The ones that are in the content of your post. What size will they be and how will they look?
- Content upgrades: What image style will you use to feature content upgrades within your posts? You want these to stand out from your text so that your readers notice them.
- Social media images: Will you watermark your images with your logo and colors? How will your Pinterest images be different or similar to your Instagram images? Is there an Instagram filter you like here?
- Other image types: What about other images and graphics on your site? How will you differentiate them and still remain cohesive?
Day 9: Create Your Image Templates
This is a huge time-saver! Create a template for your featured blog post images (that’s all you need to start) using either Canva or Photoshop. Select your size, add your colors, fonts, and a branded watermark so all you have to do is simply update your image, change your title and you’re done!
Whew! You just created a killer brand style guide template for your blog and business. Plus, you made it easy for your audience to recognize your brand because from here on out, you’re going to present one consistent and cohesive brand presence everywhere. Great job!
Psst…A style guide is just ONE of the many brand elements you’ll create with the Build My Brand Tool Kit. With this kit, you’ll have an entire done-for-you branding system that includes your visual elements (logo, colors, fonts, social media templates, style guide) PLUS your brand copy (About page, Home page, blog tone and format) and worksheets to help you track each element. Click the image below to learn more.


I am excited too about this question. Where I can find more information on it?
Thanks for sharing information on fonts! Choosing the right font to go with your business can be very appealing to the eye. Sometimes the first thing that your eye sees makes the person want to read further into your ideas.
Right on Brandi! Visuals and design play a huge role in attracting customers to your business.