Ever wonder how to optimize your website so that it does more of the heavy lifting in your business? Say, get out there and bring you some fresh leads + customers already? Or, maybe give the universe a shout-out to your superheroness?
I’m so with you on this one! Our websites should work harder. In fact, we want our websites to be the swiss army knives of the machine we’ve been working so hard to build.
The machine that’s going to drive traffic, build our audience, and make us profitable.
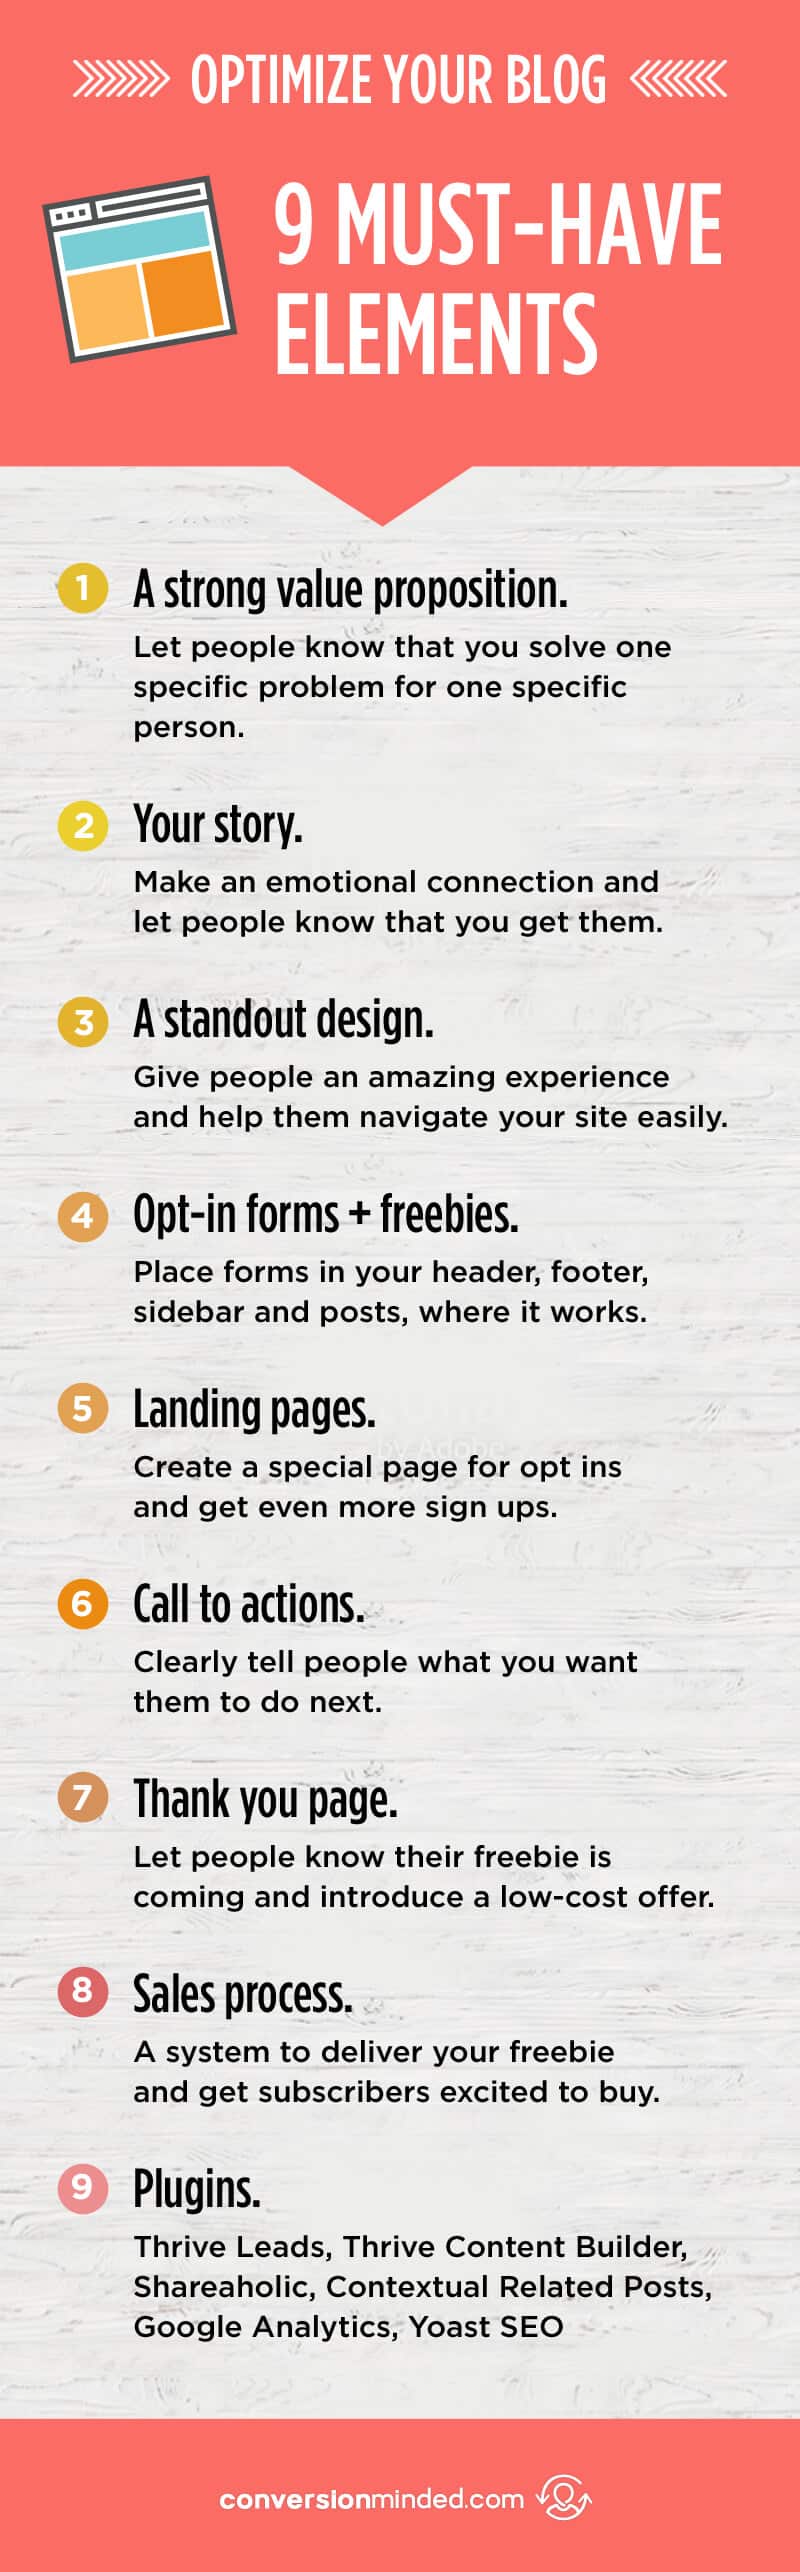
Today, I’m sharing 9 website optimization tips to help keep that machine running at peak performance. These tips will be especially helpful if your blog biz isn’t quite where you want it to be, or if you feel like you’re doing everything right but something is still a bit off.
You probably have questions about your website, or maybe you’re thinking…
- I don’t have time
- I’m done working on my site
- How can this bring me customers?
- Is spending time on my site even worth it?
I get it. Another thing to add to the list, right? And YES, optimizing your website for more leads and customers will take time.
Here’s the thing though:
Most people who visit your website are doing a quick fly-by, looking for something specific. Once they find it, they’ll likely peace out unless you give them such a bangin’ experience that they want to stay longer.
The beauty here is that once you optimize your website, you can pretty much set it and forget it. This is because all the heavy lifting will start happening on autopilot. You’ll have a system that builds relationships with complete strangers and a website that delivers leads + customers while you sleep.
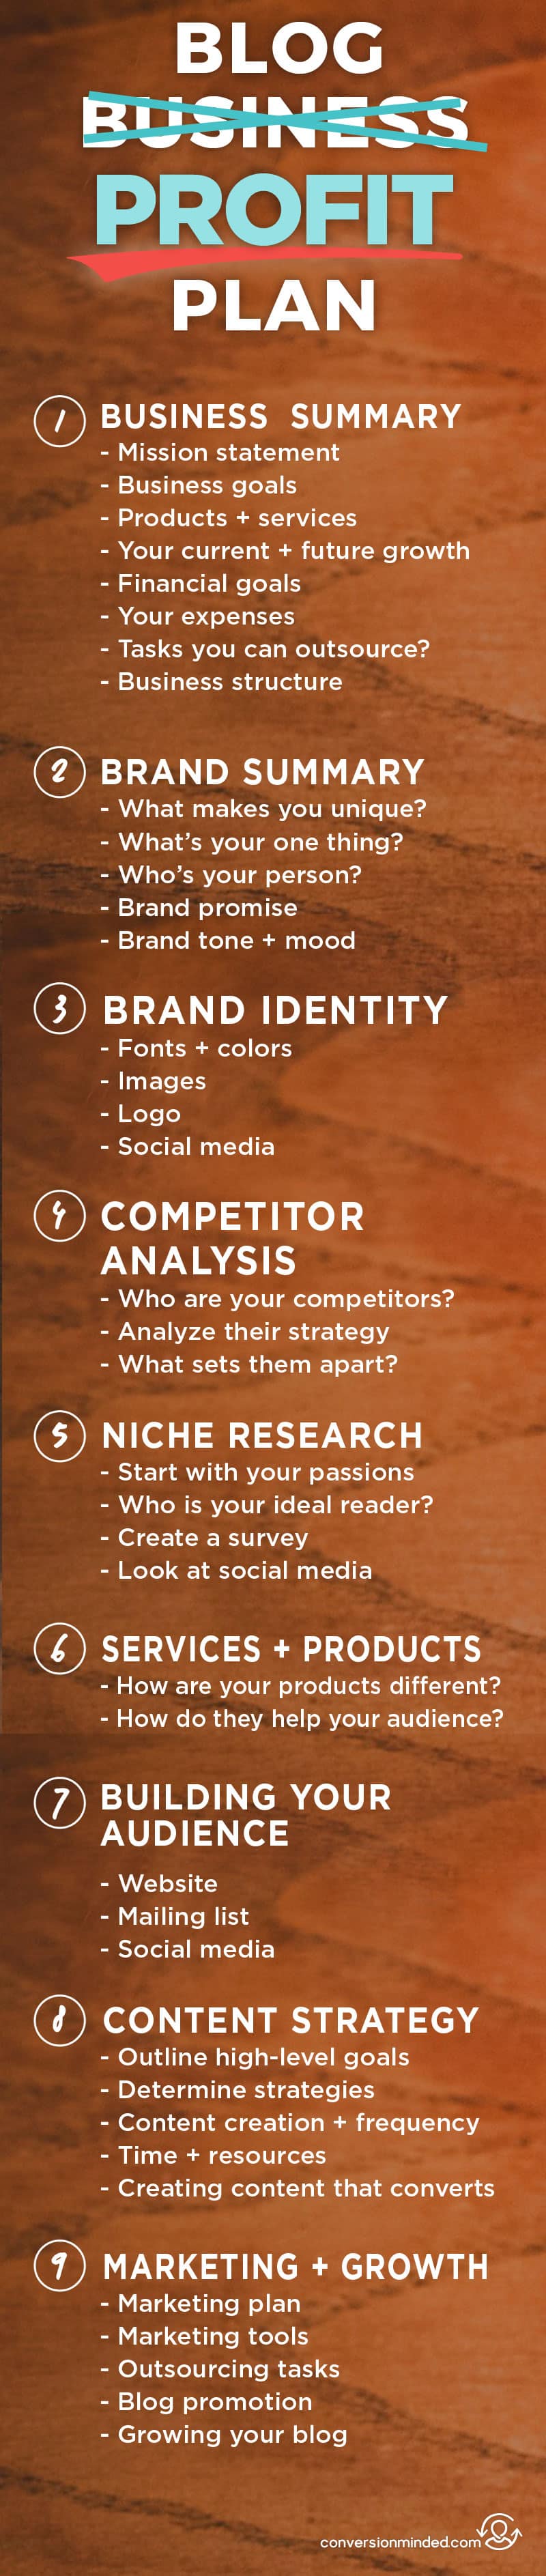
Sound good? Here are my website optimization tips:
PART 1 – THE ART OF THINGS + LAYING THE FOUNDATION
1) A Value Proposition
WHERE TO PUT: ON YOUR HOME PAGE
A value whaaa? This is a fancy way of saying let people know that you solve one problem for one specific person. A value prop should be the first statement people see on your homepage and it looks something like this:
I help (who) do (what) so that they can (benefit).
Confused by this? I’ve got tons of value prop variations, plus a template for you in this post. Your goal here is to let your audience know exactly what those 2 “ones” are above and to clearly communicate the value you provide. What do you do? How do you help? Who do you help?
If you need help with your one person, you can download the customer avatar template I created to help you attract the right customers to your business. Click the image below to download it.
I recommend placing your value prop front and center on your homepage, ideally above the fold (which is another jargony way of saying don’t make people scroll for it).
Now, I know coming up with this kind of statement can be tricky, especially if you have a million topics you blog about, and that’s perfectly ok. Just know that if you have a hard time building an audience for your brand, your value prop is likely at fault.
Here’s why:
You need a wrapper for all your interests…some kind of angle that your topics point to so that people know which box to place you in. Plus, having a strong value prop is the best way to check the box on homepage optimization.
Note: When it comes to website optimization tips, people often skip the value prop step and head straight for SEO (step #9 below). This is a huge mistake, in my book. The reason is that after all your hard work driving traffic to your website, if you don’t grab people right away you’ll likely lose them forever. Please, friend, don’t skip this step!
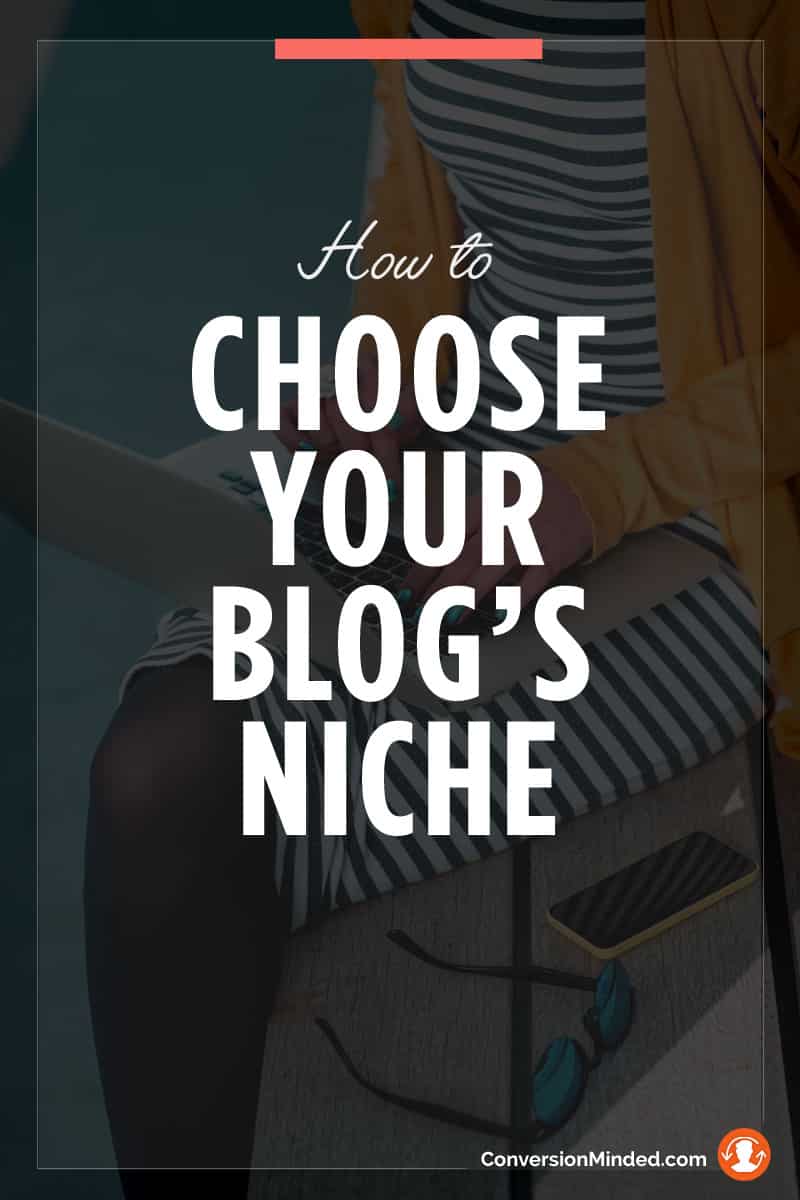
Related: How to Find Your Blog’s Niche and Focus
2) Your Story
WHERE TO PUT: YOUR ABOUT PAGE
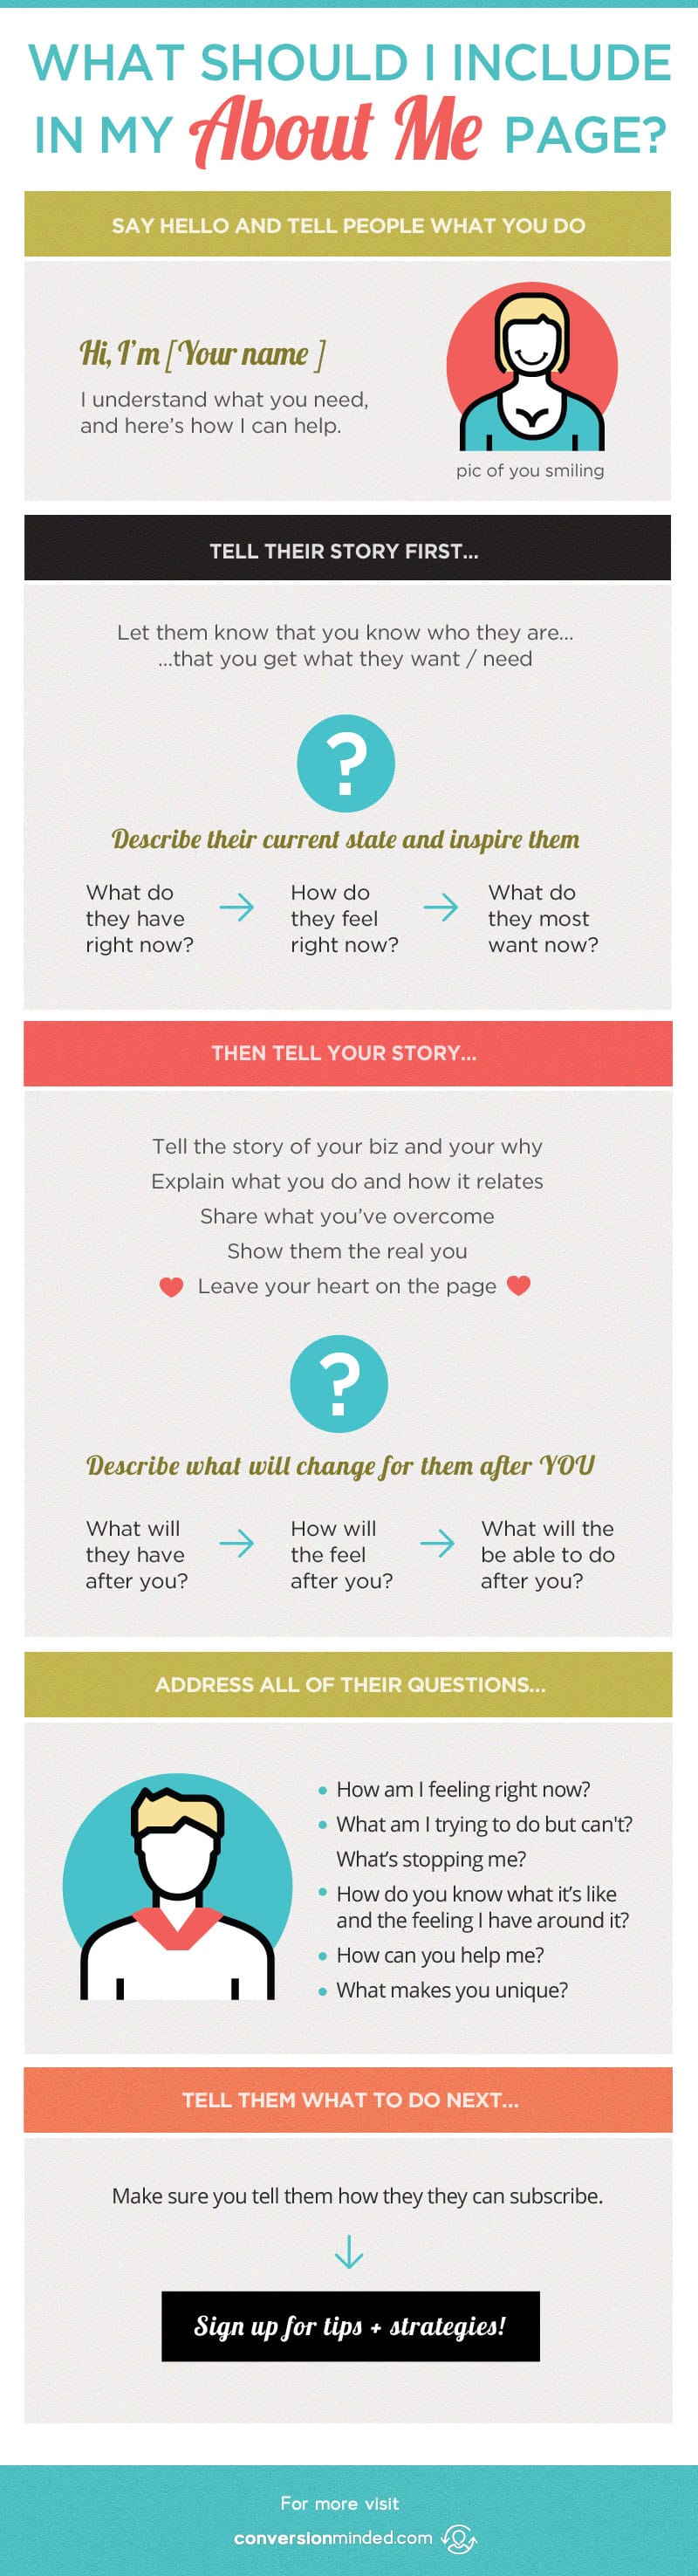
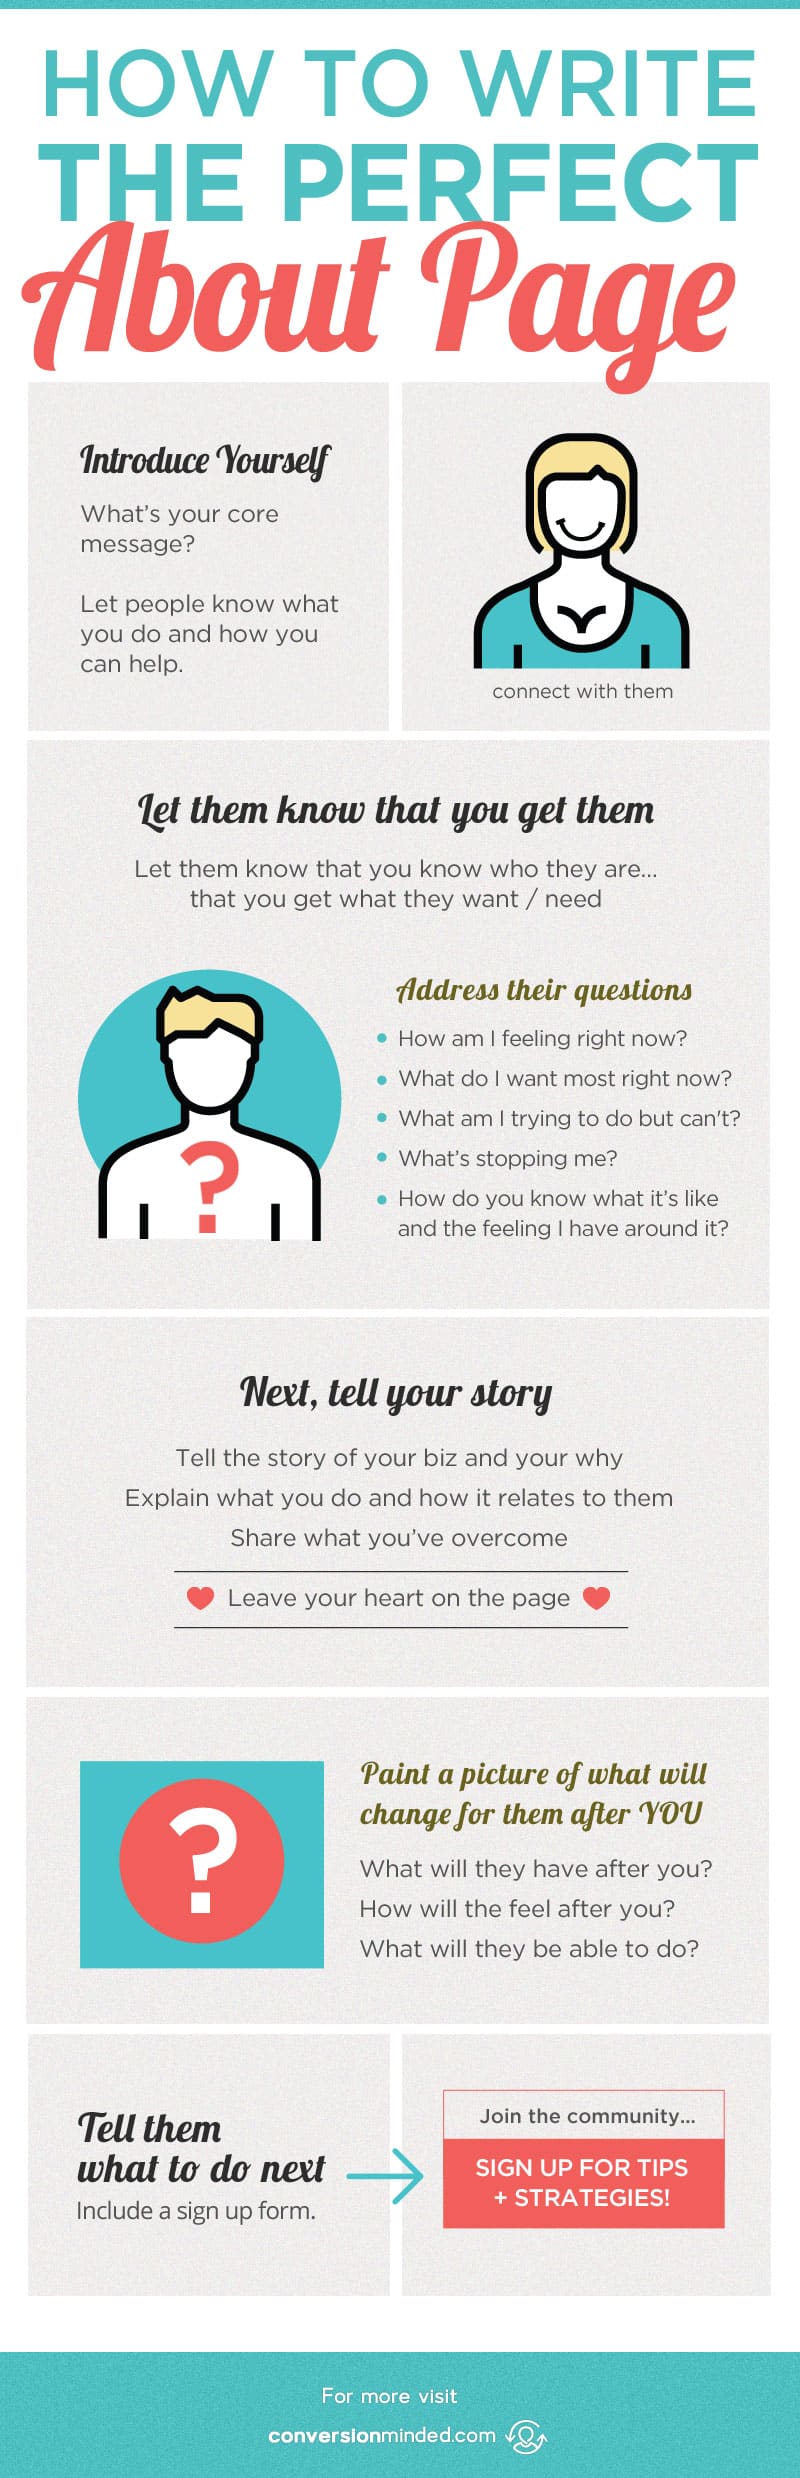
Your About Page is where you hook people on YOU, your world view, and why you do what you do.
Don’t hold back! Your personal history has framed who you are and that’s the story your audience needs to hear. I call it The Story of You Plus Them because you’re connecting the dots between where your readers are in their journey and where you can take them.
Your About Page should communicate that you get how your audience feels. What have you experienced that may be similar to what they’re going through right now? How have you overcome your challenges? How do you personally know how they feel? What will change for them AFTER you?
Once you weave your story in a way that answers these questions, you’ll tap into how your audience secretly feels. Building an audience will become effortless because people will perceive you as having a solution and will naturally seek you out and want to work with you.
Related: What Should I include on My About Page?
3) Great Design
WHERE TO PUT: EVERYWHERE!
Wondering how to optimize a home page? It starts with knowing how you want people to feel when they visit your website. Energized and excited? Deep and mysterious? Powerful and independent?
This is true for more than just your home page. Details like colors, fonts, and graphics have a lot to do with the mood of your entire website, and more importantly, how long people hang around. Your goal is to help readers get lost in your copy, with me? You want them to experience your website with no distracting elements to take their attention away from what you want them to do.
When you think about it, the function of design is to interpret copy. Ask yourself questions like How can I turn that huge block of boring text into an eye-guzzling graphic? What design elements can I add that will make it easy for people to digest my copy?
What you’re aiming for is to create a hierarchy of importance so that people know what to read first, second, and so on. We’re talking about deets like:
- Easy navigation
- Clear calls to action (step #6 below)
- Harmonious colors, fonts, and graphics
- Use of white space
- Strategic positioning and scale of elements
When you’re first starting out, please don’t spend too much time on this step. The reason is that it’s easy to fall into a rabbit-hole with design. In the early stage of your business, your goal should be to get out there as quickly as possible so that you can learn more about your audience.
I recommend using a theme like Divi as a jumping off point. Add your content and change the colors, fonts, and graphics. Then you’re good to go. Easy peasy.
#BOTTOMLINE Yes, design is important, but don’t spend so much time here that you put off other important things like LAUNCHING.
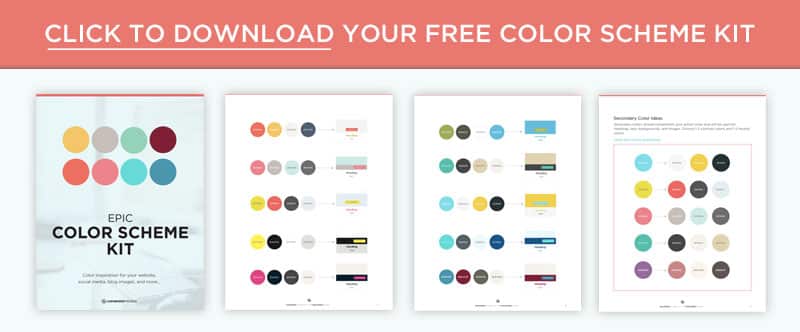
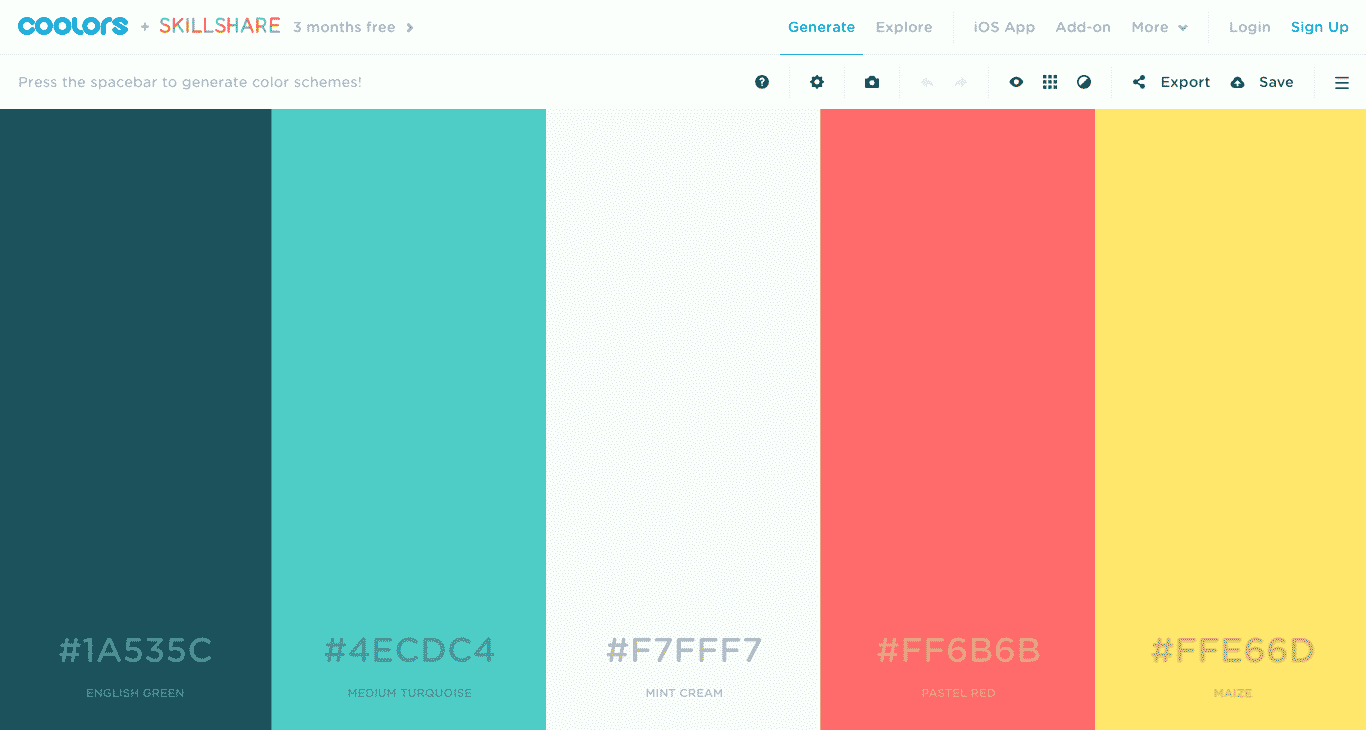
Related: How to Choose Colors That Will Make Your Brand Stand Out
PART II: REVVIN’ UP THE MACHINE
4) Opt-in forms + freebies
WHERE TO PUT: YOUR HEADER, FOOTER, SIDEBAR, BLOG POSTS
When we talk about how to optimize your website, this one’s a biggie. Opt-in forms and freebies are where you start turbocharging the machine and building an email list while you sleep. What’s not to love about that, right?
I include them on my home page and in as many posts as I can, without interrupting readers of course. If a freebie naturally fits and would help extend a post with even more value, I’ll include it.
I actually recommend including a freebie for as many posts as you can, which sounds like a lot more work than it is. You can start with a few that are related to your blog themes and use the same freebie on numerous posts. The double-whammy here is that the more freebies you create, the more you’ll understand what your audience secretly wants. You can use that intel to frame future products around.
Remember, freebies are a huge part of our content funnel, which I cover in this post. A high-converting freebie is:
- Targeted – speaks to one specific person and addresses their most pressing pain point.
- Actionable – is easy for people to digest and implement. Checklists, cheat sheets, templates and short workbooks (less than 10 pages) work well.
- Simple – covers one simple topic rather than multiple topics. Your goal is to offer the easiest steps for people to get from A to Z.
- Delivers results – gives people steps they can actually move forward with and see results.
- Builds trust – establishes your authority and primes people to buy from you in the future.
- Sparks curiosity – offers enough value to get people excited about future products, without giving away the farm.
- Provides real value – is something that people would actually consider paying for.
For opt-in forms, I’m in love with Thrive Leads! They have so many options. You can tweak these forms all you want and then save them as templates.
Any type of form you want, Thrive can make it happen. Take a look:
- Welcome mats – Full page opt-ins similar to Jeff Bullas’ home page. These are supposedly the highest converting. I can’t wait to test.
- Standard pop-ups – I use these as “exit pop-ups”, where visitors are prompted to opt-in right before they leave.
- In-content – Clicking on an image or a link triggers a pop-up. I use these for all of my content upgrades.
- Ribbon forms – Appear as a bar across the top of your website, like the one on Twelveskip’s site.
- Sidebars – Display on the right side of pages and posts.
- Footers – Sit at the bottom of your site and prompt people after they read your content.
Can you see how powerful freebies are? I highly recommend purchasing the Thrive Leads’ plugin ($67 one-time fee) and experimenting with each opt-in form.
5) Landing Pages
WHERE TO PUT: THESE ARE CUSTOM PAGES
If we’re really going to make our opt-in forms stand out, we need to give them a dedicated landing page. Here’s why:
All the forms mentioned in step #7 are designed to appear on an existing page or post on your website. They’ll pop up, slide in, slide down, or hang out at the top/bottom of a page. If we really want to shake things up, we’ll put our opt-in form on an entirely separate page, so people can’t help but notice it.
How is a landing page is different from other pages on your website?
Great question! I scratched my head on this one too at first. What makes landing pages different is that they include only 3 things:
- Details about your freebie
- A call to action (step #6 below)
- Your opt-in form
That’s it! The best converting landing pages are all about freebies and nothing else. We’re talking no blog posts, pages, sidebars, or even top navigation. Basically, no ANYTHING that might distract people from signing up for your freebie.
So there you have it! That’s my skinny on landing page best practices. Yours can be short and sweet (an image plus a few bullet points) or long and detailed (more copy, more images, more wow).
Wondering how to make a landing page? I’ve got 2 options for you:
- LeadPages has a huge library of high-converting templates that you can easily tweak to suit both your freebie and brand. While I like their templates, I find that customizing them takes more work than I want. Plus, the $25 monthly fee is too steep, in my book.
- Thrive Content Builder is a relatively new plugin that’s been giving LeadPages a run lately. These guys boast a huge template library too (162 and counting) and charge only $67, with a full year of support. That’s a one-time fee and a no-brainer, right?
6) Call-to-Actions
WHERE TO PUT: EVERYWHERE
As people read your content, you want to encourage them to take another step. The way to do that is to use a combination of buttons, links, and copy that calls them to action (hence the term “call-to-actions” or “CTAs”).
CTAs have the smallest amount of copy you’re likely to write, but don’t let that fool you! This is one of those cases where big things definitely come in small packages. Here are a few CTA examples:
- I’m In!
- Heck Yes!
- Hook Me Up!
- Get Started Here
You’re probably thinking Why are CTAs such a big deal? Can’t I just say “Download” or Buy Now” and that’s it?
It depends. Sometimes that will work and other times not so much. I recommend brainstorming your CTA a bit more. If you hang in there, you’re likely to come up with text for your CTA button and heading that will get people fired up to sign up.
Take a look at Melyssa Griffin‘s website. See how she prompts people to Take Action: Click An Option Below…? It doesn’t get any clearer than that! Follow this example with your call-to-actions and you’ll be buildin’ your machine, quick like.
You want these babies ev’rywhere:
- On your home page
- About page
- Contact page
- Blog posts
- Opt-in forms
- Landing pages
- Thank you pages
- Sales pages
Remember, CTAs are a huge part of creating an effective content funnel. People need to be drawn to both the copy and design of your call-to-action. This is the way you’ll be able to capture their attention long enough to guide them through your sign-up process.
Related: How to Build Your Blog Audience (Like You Mean Business)
7) Thank You Page
WHERE TO PUT: THIS IS A CUSTOM PAGE
When people opt-in, you need a way to assure them that their freebie is on its way. That’s where a thank you page comes in. You literally say something like Thanks for signing up! Your freebie is on its way! And leave it at that.
Nope, sorry. In reality, we can’t leave it at that. 🙁
We need to dig into the real potential of thank you pages and help people take the next step. After all, they’ve already raised their hands and said yes, so they’re likely ready to build a relationship, or maybe even purchase a low-cost product. Now we’re talkin’.
This page has some serious lifting to do! First, think about what you want people to do. Then make sure your thank you page includes:
- A confirmation message
- Specific instructions on what to do next
- A clear call-to-action (step #6 above)
Speaking of CTAs again, here are some great call to actions for this page:
- Ask people to whitelist your email address
- Share on social media
- Register for a webinar or event
- Purchase a low-dollar offer
- Purchase a related or affiliate product
Whatever you do, please make this page a priority! This is a huge website optimization step. Don’t back-burner it or treat it as an afterthought. Your thank you page doesn’t need to be long and it doesn’t need to be pretty. It just needs to prompt people to take a very specific action.
8) A sales process
What I mean by this is that you need a system to deliver your freebie, prime people for future products, and nurture the relationship you’ve started to build with your subscribers. That’s where automated email marketing comes in.
What you want to do is to create a 2-email sequence (one to deliver the freebie and one to introduce an offer). Now I get that delivering a freebie doesn’t sound like a sales process, but let’s take a closer look, k?
First off, you send an email that delivers your freebie. No brainer, right? You’ll want to tag subscribers with this particular freebie and then you can:
- Send them weekly updates and blog posts
- Tell them about a product you’re creating that is related to the freebie and offers tons more value
- Tell them about a service you provide, again related to the freebie
- Share an affiliate product that will help them implement an action step in your freebie
Can you see how this is shaping up into a bangin’ sales process?
Now that you know your audience and what they’re trying to achieve, your job is to build a relationship with them and get them excited about buying.
Of course, I’m not suggesting you bombard subscribers with salesy emails, but you get my gist. Setting up an email sequence to deliver your freebie is the first step in building your sales process, and it’s all going to happen on the same platform.
Looking for an email service provider? I recently switched from Infusionsoft to ConvertKit and am loving it. MailChimp is a good option here too.
9) Plugins
WHERE TO PUT: SEE BELOW
Let’s take a look at some plugins that will help turn your website into a sales machine. I’ve already shared Thrive Leads and Thrive Content Builder, which you can purchase at Thrive Themes. Here’s how to use other plugins that will turbocharge your website:
Shareaholic
Put at the bottom of your posts
See the social media buttons at the bottom of this post? Those are share buttons from Shareaholic, which is a free plugin. Woop Woop! Share buttons encourage people to share your posts and send a strong social signal that your content is popular.
You can also place share buttons at the top of your posts or on the left side. I’m excited to try Social Warfare, but right now I’m shying away from their $25 monthly fees.
Contextual Related Posts
Put below your share buttons
A lot of what we’re doing with plugins is encouraging people to click through to other sections of our website. That’s exactly what Contextual Related Posts does best. Once you install this plugin, you can display 3-4 related posts based on the content of your current post. It’s easy to tweak the design too.
Google Analytics
Add to the <head> tag of your website
If you hired a sales person, you wouldn’t cross your fingers and hope for the best. You would track and measure their performance. The same is true with your website. You have to know which pages are most popular so you can optimize them for even more conversions.
Many themes have a clear section for adding Google Analytics, so you may not need this. But in case things get wonky and it’s not as easy as it seems, install this plugin, add your code, and you’re all set.
I recommend logging in to Google Analytics to check your site’s performance at least once a month.
Yoast SEO
Nothing to “put” here. Simply follow the SEO prompts at the bottom of the WordPress edit window.
Popping up in search engines doesn’t happen overnight, but anything worth having is worth waiting for, right? That’s how SEO works. You lay the groundwork, plant your seeds, and then wait for spring.
I’ve been spending a lot of time on SEO lately, and let me just say that it’s a big deal.
Get more traffic? Check.
Get clear on your ideal customers? Check.
Create better content? Check.
If you’re wondering how to make a blog post SEO-friendly and haven’t already installed this plugin yet, I say get on it. What Yoast SEO will do is prompt you with a checklist of things that will help you optimize your blog posts. Once you see a green light (right up there near the Publish button), you’re all set.
While this handy tool doesn’t replace SEO keywords or even Google’s ranking algorithms, it will help you optimize your posts with SEO-friendly content, title, headings, tags, descriptions, images, and more.
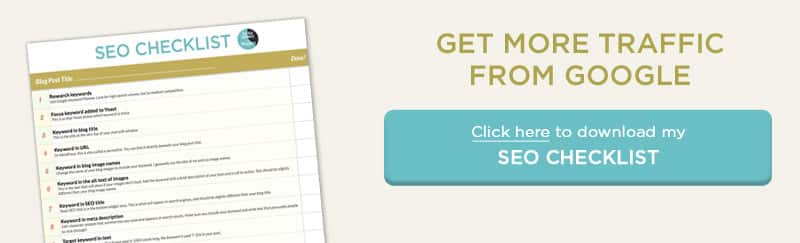
Need more SEO tips? I cover the basics of it here. If you want, you can also download the SEO checklist I created so you know how to get your posts ranked on Google. Click the image below to download.
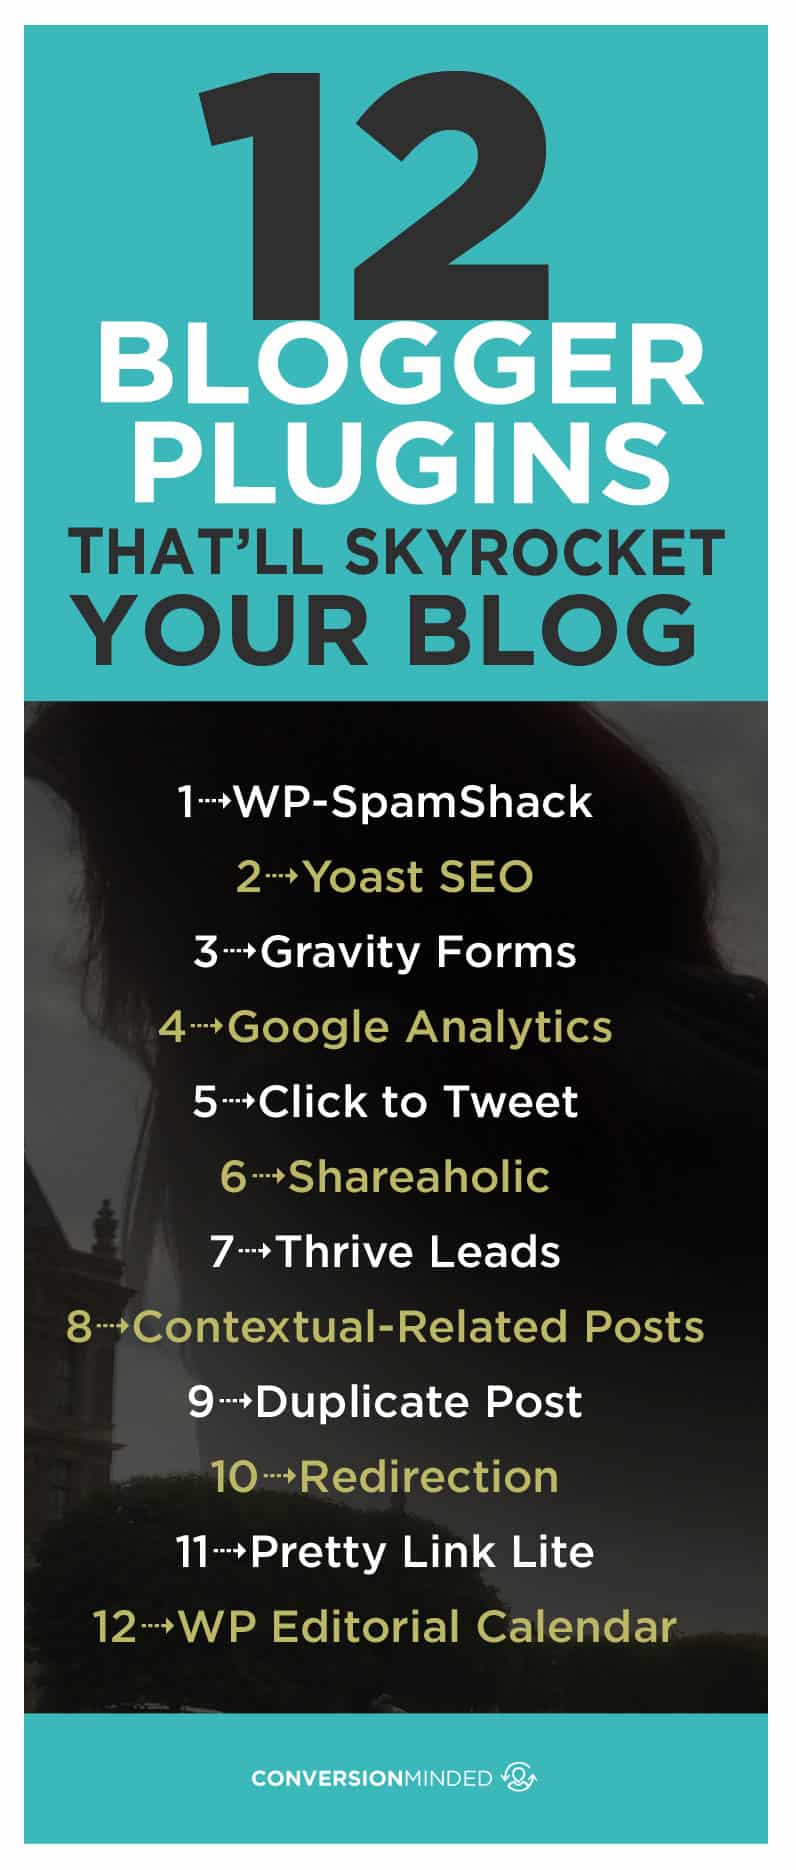
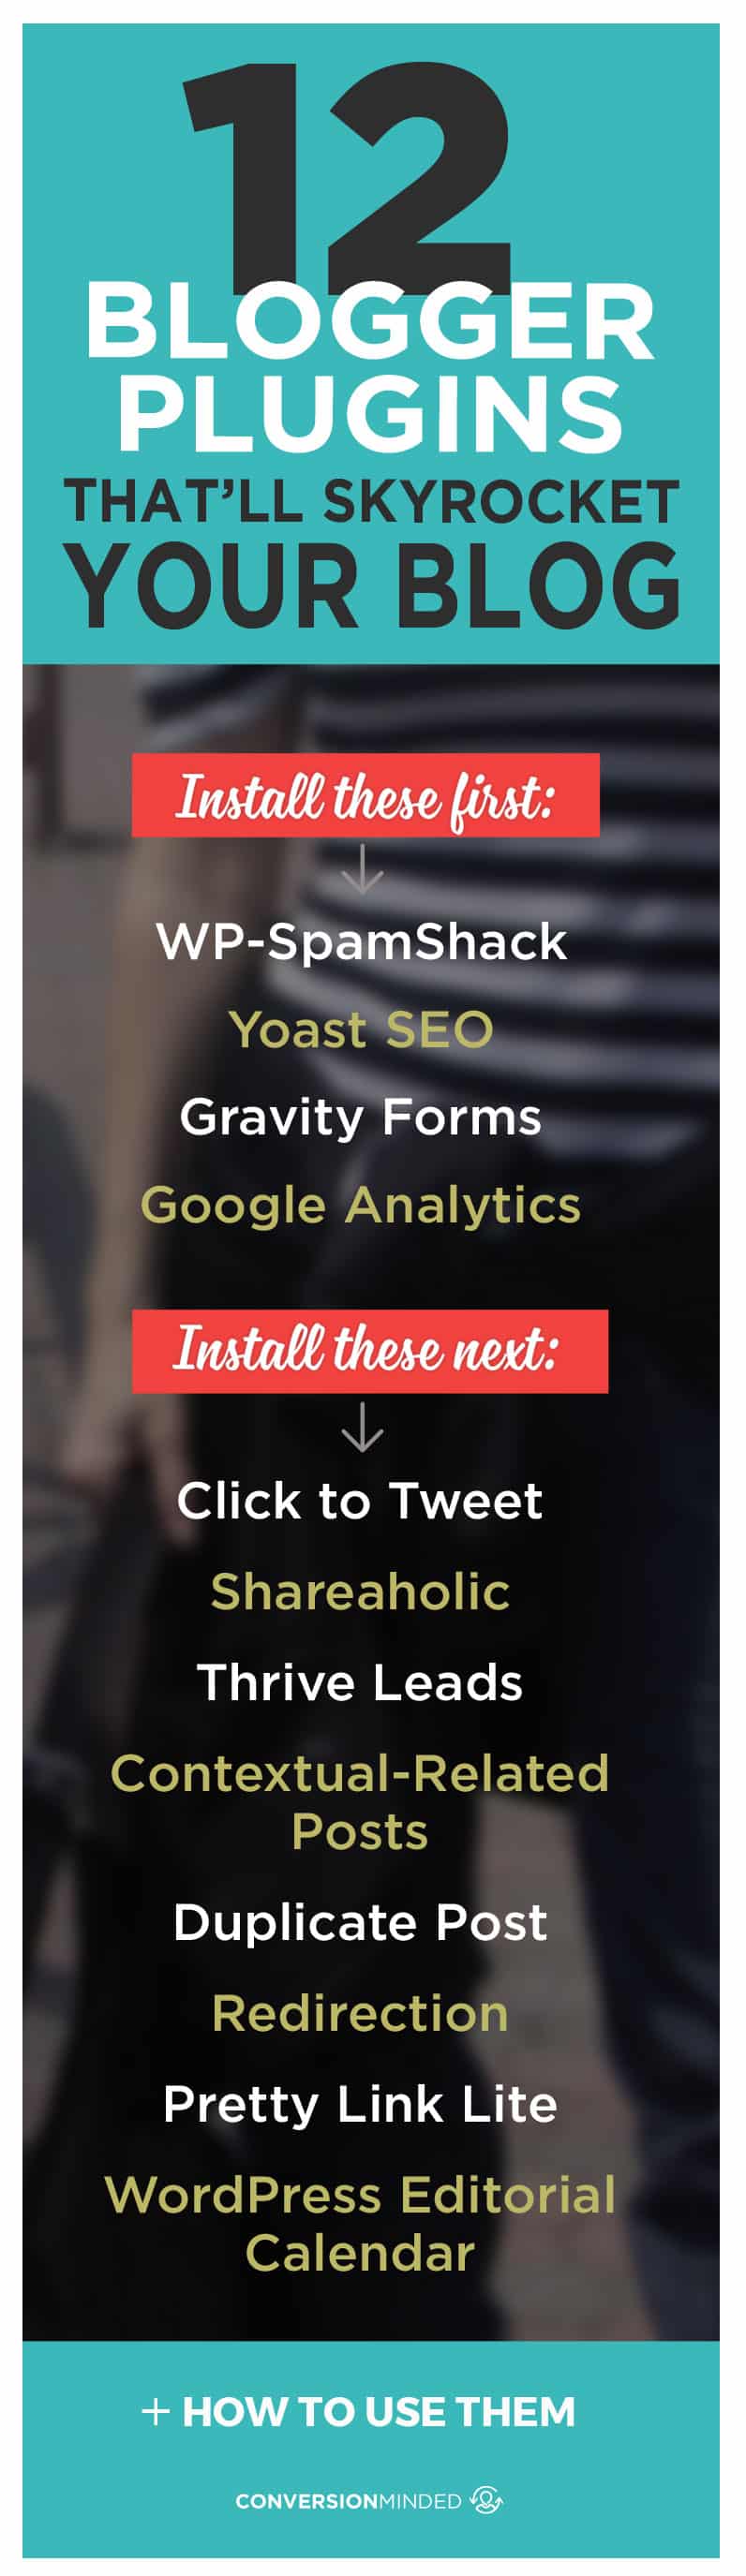
Related: 12 Blogger Plugins to Skyrocket Your Blog
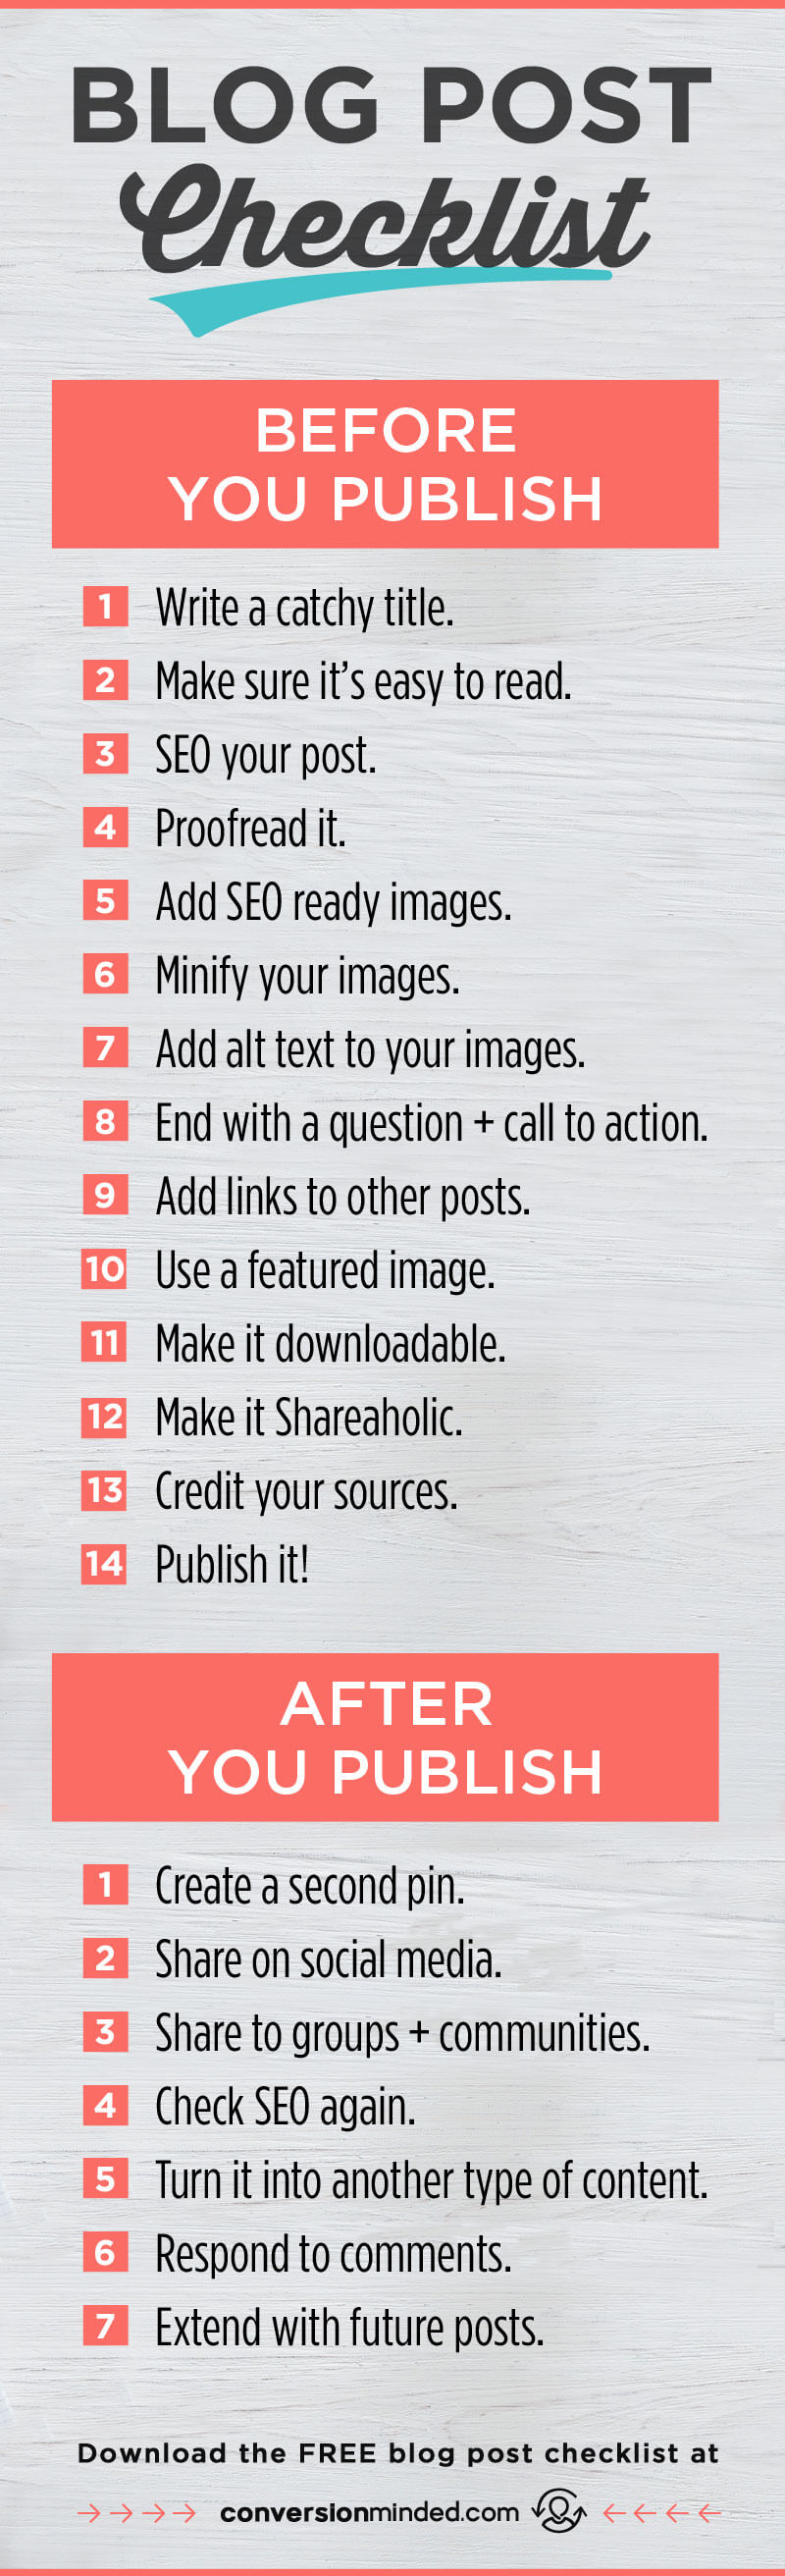
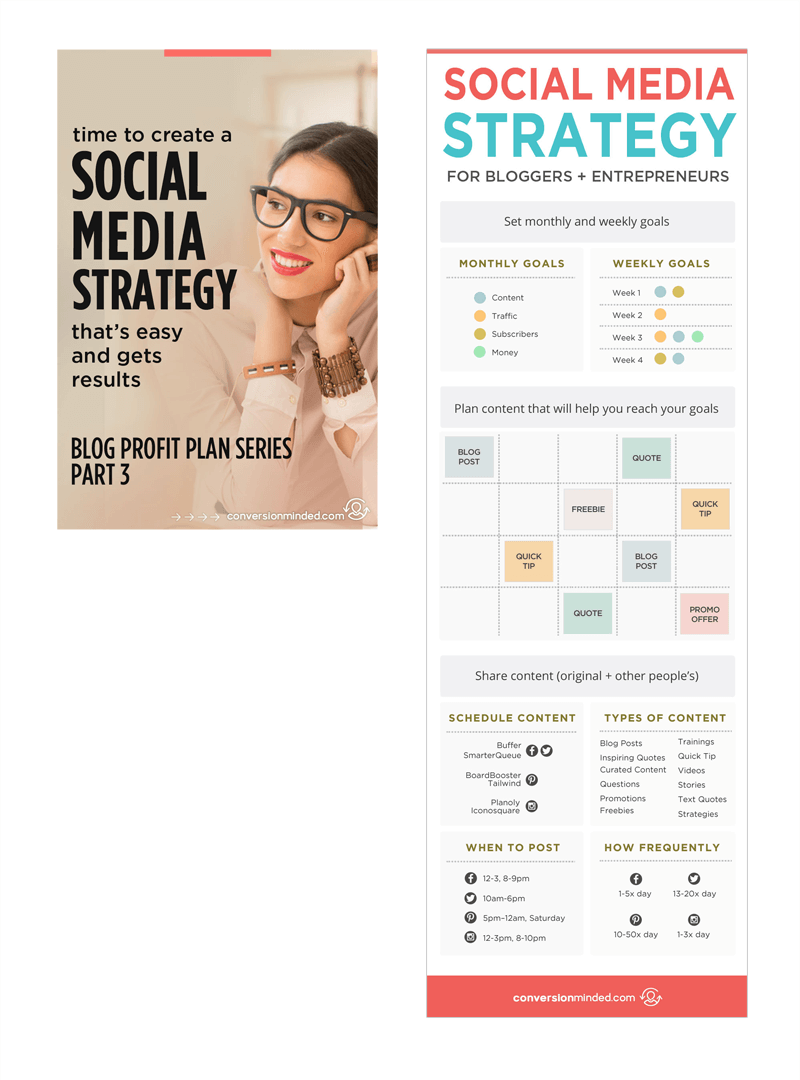
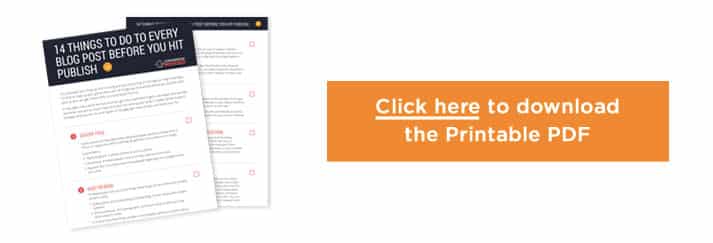
Related: 7 Things Every Blogger Should Do After You Hit Publish